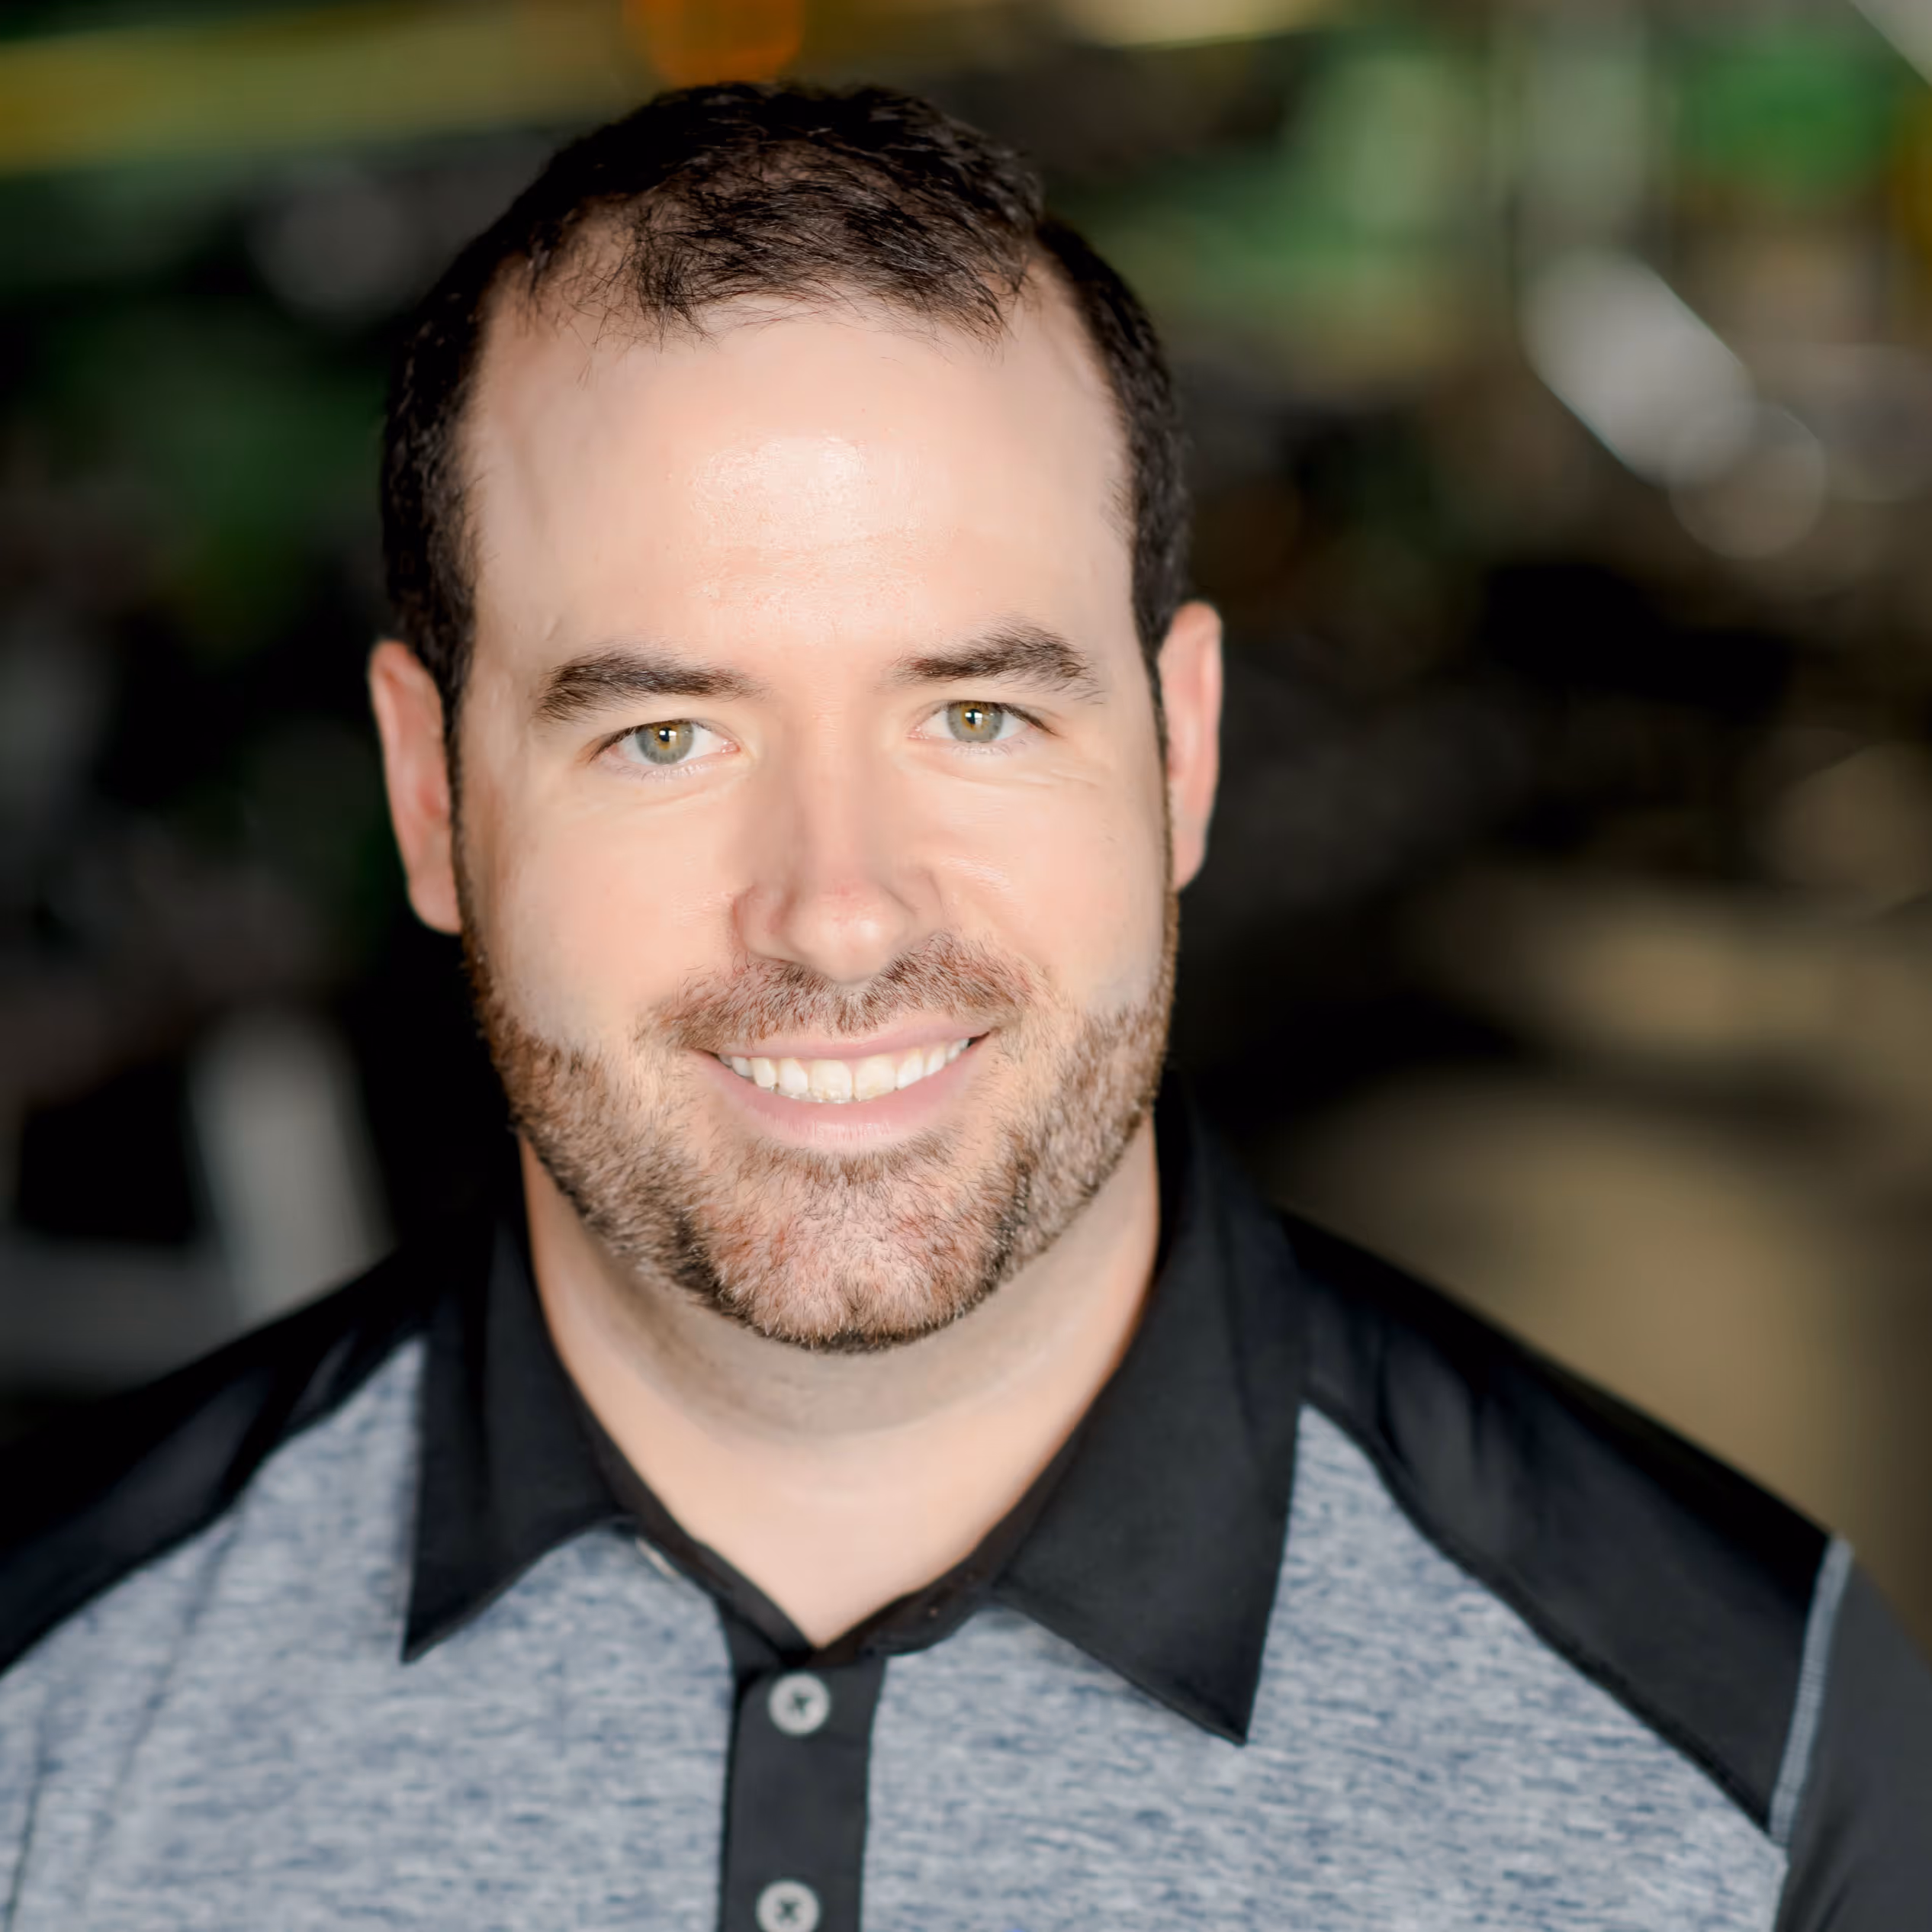
Dr. Michael Falk
PT, DPT, ATC, CSCS
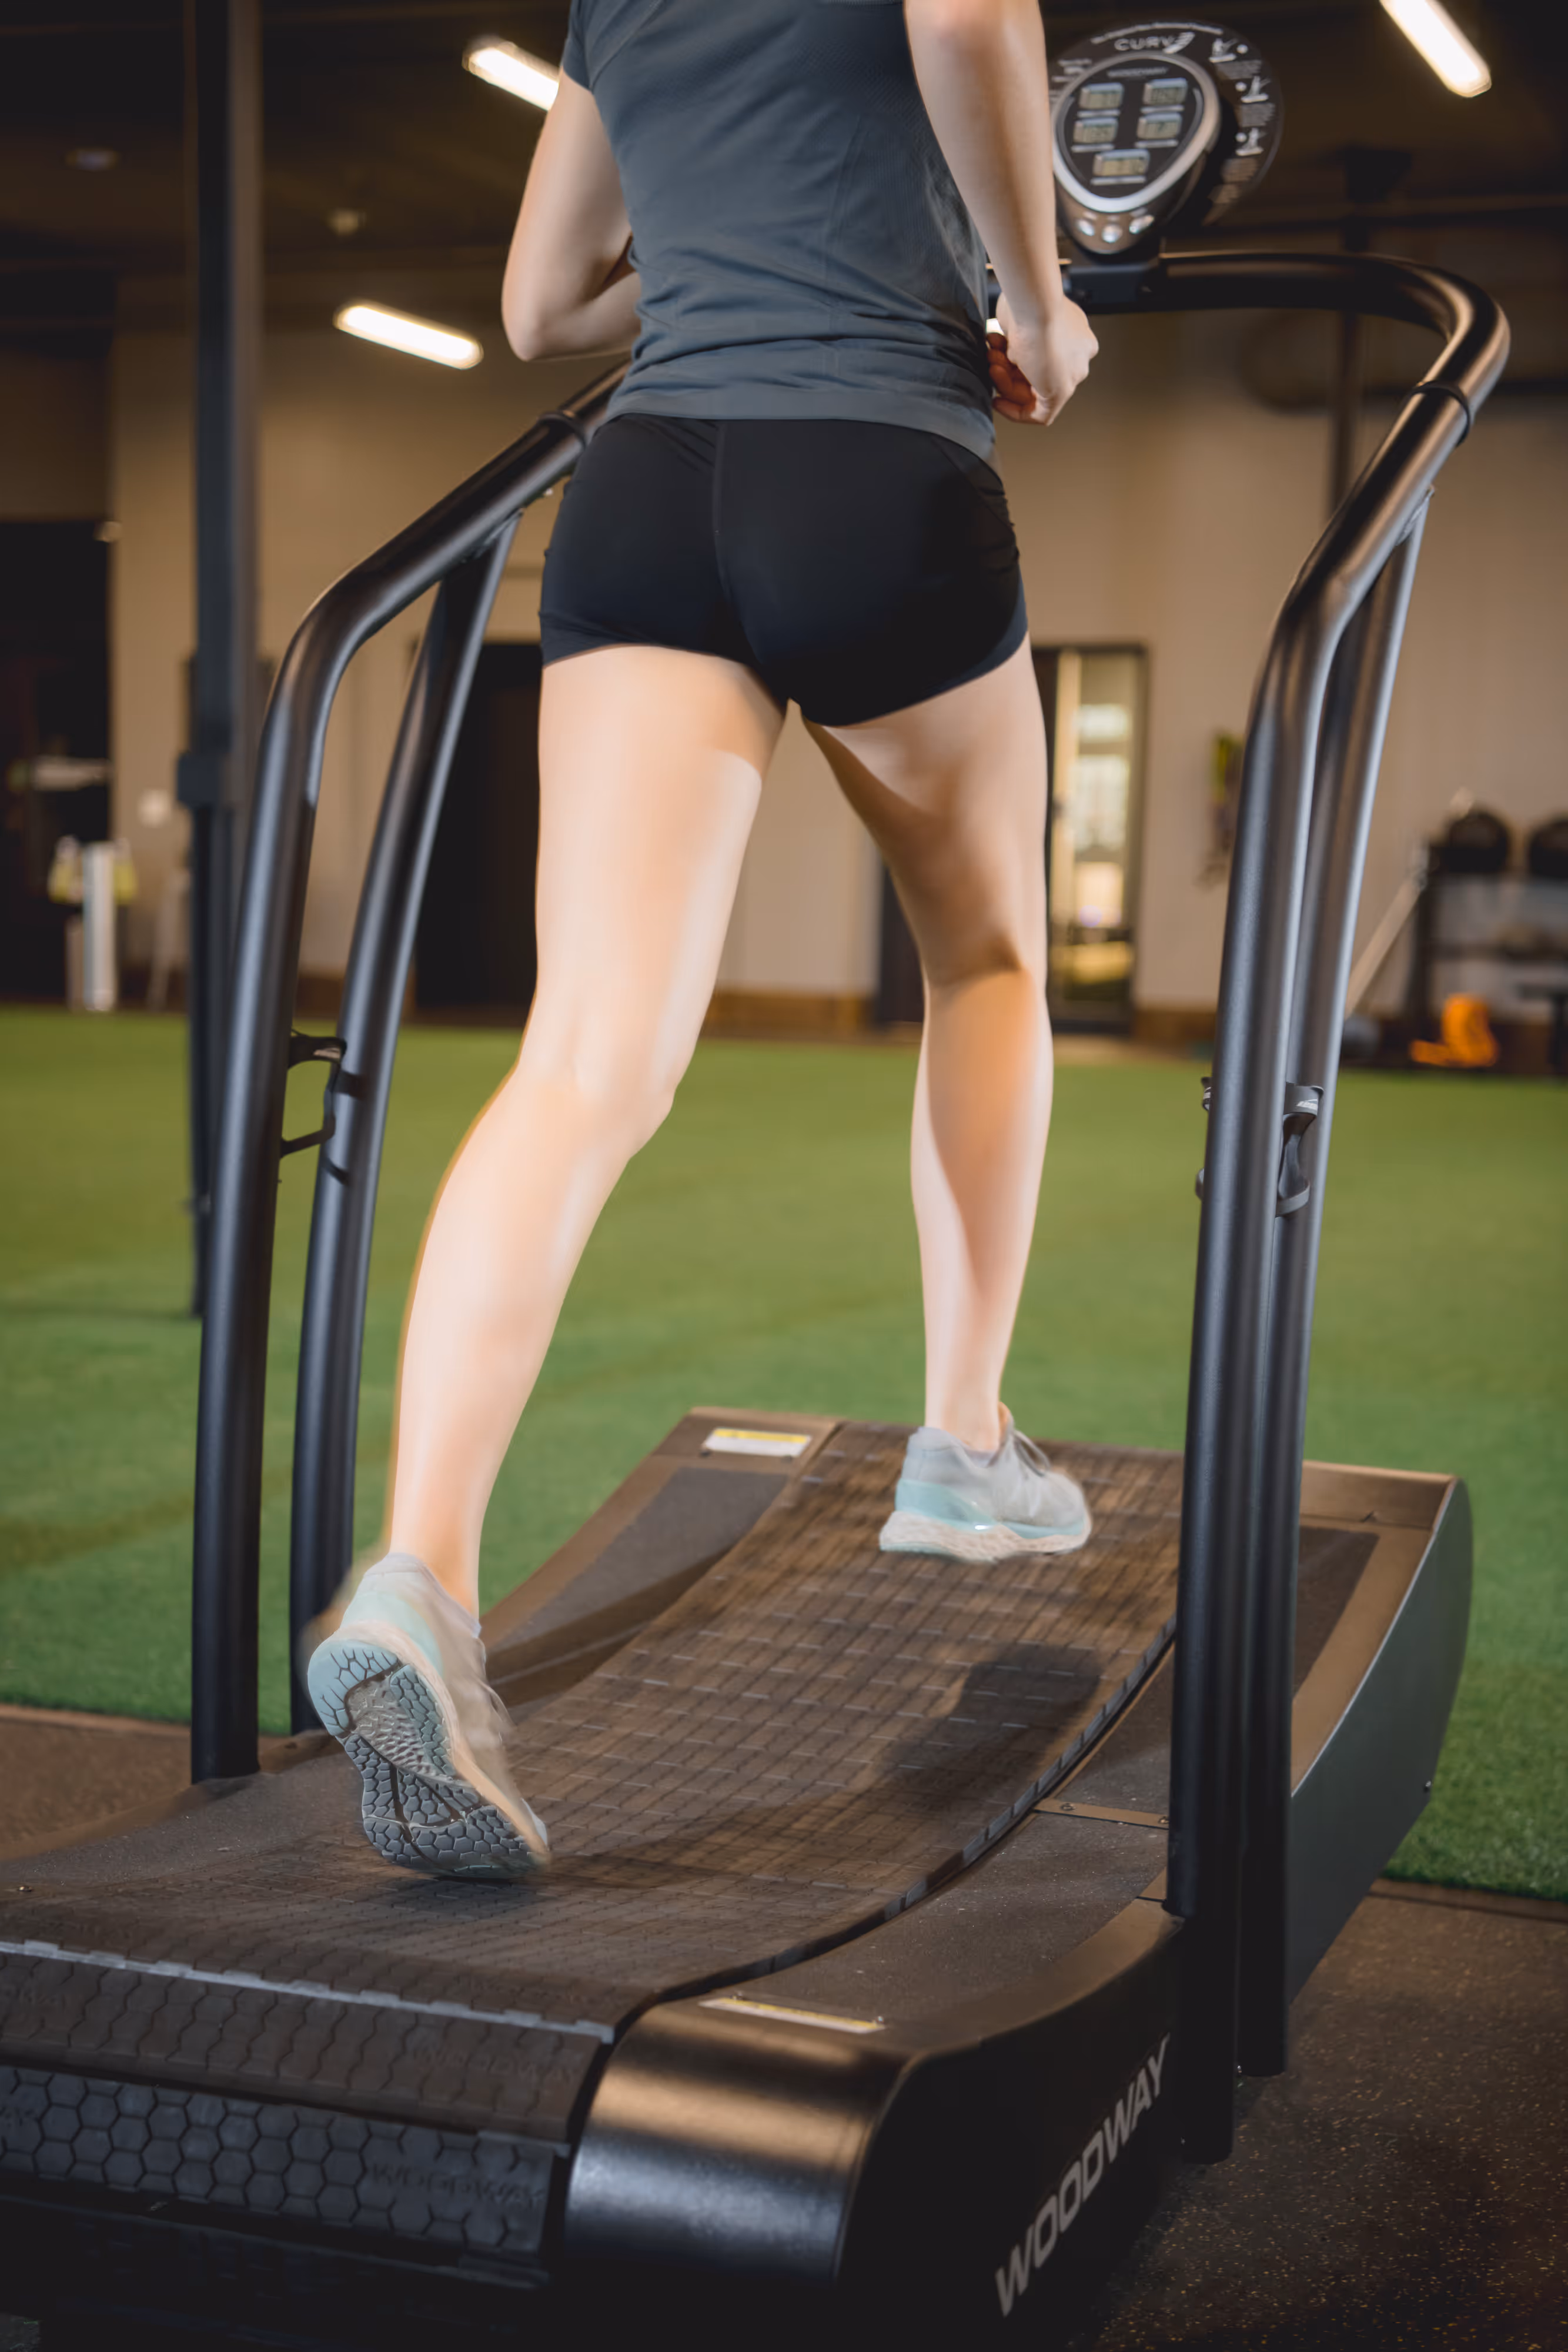
Don't let pain or injury keep you on the sidelines any longer. Our team of specialists is ready to help you return to the activities you love with a personalized plan built for your specific goals and sport demands.